How to set up and control your soundbar using the BRAVIA Connect app
The BRAVIA Connect acts as a convenient control center for your soundbar, enablling you to easily manage settings and optimize your audio system without navigating through on-device menus.
Here's what you can do with this app
- Set up, control, and manage your soundbar using your smartphone or tablet
- Easily adjust sound settings without the remote control
- Perform software updates directly on your soundbar
- Customize sound modes and options to suit your preferences
- Integrate and manage multiple Sony audio devices
- Access troubleshooting and support resources
Discover the features and capabilities of the BRAVIA Connect app
Before you start
Follow these important tips to ensure a smooth setup for your soundbar:
- Have your home Wi-Fi® network name and password handy
- The smartphone or tablet on which you will install the BRAVIA Connect app MUST
- Be connected to your home Wi-Fi network
- Have Bluetooth® enabled in it's settings
- Close audio streaming apps during set up to avoid connection interference
- Have your soundbar manuals available in case you need model-specific instructions to complete any step.
Watch the video first
This video provides an overview of setting up your soundbar and the BRAVIA Connect app. If you want more detailed instructions after watching the video, continue reading this article.
BRAVIA Theater setup on the BRAVIA Connect app

Step 1: Download and install the BRAVIA Connect app
- Download the BRAVIA Connect app from the Google Play™ Store or Apple App Store® on your smartphone or tablet.
- Select Install or Get.
- After the app finishes installing, select Open.
Step 2: Perform the initial setup
This article provides basic instructions for setting up the BRAVIA Connect app and soundbar. Please note that the steps and images used are specific to the BRAVIA Theatre 9 model, and may vary slightly for other models.
- At the Hello screen of the BRAVIA Connect app, read the end user license agreement, select the checkbox to confirm you have read and agree to the terms, and then select Start setup.
- At the Privacy Policy, select Agree and proceed.
- At the End-user policy, select Agree and start using.
Some features and functions may be unavailable if you select Disagree and start using instead. - At the "Allow BRAVIA Connect to track your activity across other companies' apps and websites" screen, select Ask App Not to Track or Allow according to your preferences.
- At the Allow "BRAVIA Connect" to find Bluetooth devices screen, tap Allow. This setting is required for the app to recognize the soundbar during the initial setup.
- Turn ON your soundbar, and then select Sign in on the app.
- At the Select a device to set up screen, you should see your new soundbar model listed. Select your soundbar and then select Sign in.
- At the "BRAVIA Connect" Wants to Use "seeds.services" to Sign in screen, select Continue.
- Sign in to the BRAVIA Connect app with your Sony account.
- To create a Sony account:
- Choose Create account, and follow the on-screen instructions. For help, visit our Account Help page.
- Choose Create account, and follow the on-screen instructions. For help, visit our Account Help page.
- If you already have a Sony account:
- Enter your email address, then select Next.
- Enter your Sony account password, then select Sign in.
- Enter your email address, then select Next.
- To create a Sony account:
- At the Preparing... screen, wait for the app to complete downloading the necessary data for the soundbar. This process may take up to 30 seconds. Once it is finished, the app will automatically proceed to the next screen.
- At the Allow "BRAVIA Connect" to find devices on your local network screen, select Allow.
- Place your soundbar in front of your TV, without blocking the remote control sensor.
- If the Tips for soundbar placement screen appears, review the information and select OK. If it doesn't appear, skip to the next step.
If the TV stand legs interfere with the soundbar's placement, and your soundbar comes with foot attachments, attach them to the soundbar and then place the soundbar over the TV stand legs.
- If the Tips for soundbar placement screen appears, review the information and select OK. If it doesn't appear, skip to the next step.
- At the Pairing is required screen, select Start pairing.
- At the Bluetooth Pairing Request screen, select Pair to connect the soundbar to your smartphone or tablet.
A Bluetooth® connection is necessary for the initial setup, enabling the app to locate and recognize your soundbar. This connection is also required to stream music from your smartphone or tablet to the soundbar.
- Check if the blue indicator light is blinking on your soundbar.
- If it's blinking, choose The indicator is blinking.
- If it is not blinking, choose Select the device again and follow the on-screen instructions.
- At the Checks the HDMI connection screen, select Next. The app will check that you have connected the HDMI cable to the correct ports on your soundbar (HDMI IN) and TV (HDMI OUT).
If you receive an error, try disconnecting and reconnecting the HDMI cable at both ends. - At the HDMI connection has been confirmed screen, select Next.
- This step only applies if you are connecting your soundbar to a Sony TV. Otherwise, you can skip to the next step.
If your Sony TV and soundbar support Acoustic Center Sync, you can use the TV as a center speaker, improving audio-visual harmony for a better sound experience. To check for compatibility, look for the S-CENTER port on each device or consult the article that lists which Sony audio products support BRAVIA TV features.- At the Enhance immersion with "Acoustic Center Sync" screen, select Next.
- If you want to use the TV as a center speaker, connect the supplied cable from the S-CENTER SPEAKER IN port on your TV to the S-CENTER OUT port on your soundbar. However, if you want to skip this, select Connect Later.
- At the Enhance immersion with "Acoustic Center Sync" screen, select Next.
- At the Configure Soundbar network screen, wait for the app to check the network settings. This process will take up to 30 seconds to complete, after which the app will automatically proceed to the next screen.
- At the Allow "BRAVIA Connect" to use your location? screen, select Allow Once or Allow while Using the App. Location must be allowed for the app to connect your soundbar to your Wi-Fi home network.
- Wait for the app to check network settings again. This process will take up to 30 seconds to complete, after which the app will automatically proceed to the next screen.
- At the Connect the soundbar to the same Wi-fi as your mobile device screen, enter your home network password, and select Next.
- Once the app confirms the soundbar is connected to your home network, select OK.
- Wait for the app to register the device to your network. The app will automatically proceed to the Network setting complete screen, select Next.
- Read the Soundbar and Home Theater Products data use for marketing and product/service improvement purposes agreement.
- If you agree to both data uses, choose Agree and proceed.
- If you disagree to one or both of the data uses, choose Disagree and proceed.
- Select a device name or create a custom name for your soundbar, and then select Next. The name you choose will appear on other devices and apps.
- If you're using rear speakers (sold separately), select your rear speaker model and follow the on-screen instructions. If you're not using rear speakers, select Skip.
- If you're using a subwoofer (sold separately), select your subwoofer model and follow the on-screen instructions. If you're not using a subwoofer, select Skip.
- The app will automatically check if a software update is available for your soundbar.
- If an update is available, but you prefer to install it later, choose Later and skip to the next step.
- If an update is available, and you want to install it now, choose Update. Once the update is finished, select Next.
- If your soundbar's software is already up to date, select Next.
- At the Stay up to date screen, select Turn on Auto Update (recommended) to install future updates automatically; otherwise select Don't turn on.
- On the Optimize Surround Sound to your room screen, select Prepare for optimization, to customize the sound for your living space. This process will take up to three minutes. You will hear loud sounds from the speakers while it measures and adjusts settings. You can Skip optimization if you prefer to do this later. If you choose to skip optimization, you'll be prompted to confirm this selection before proceeding.
- At the Your setup is complete! screen, select Done.
- At the Turn on notifications screen, select Next. Then, at the “BRAVIA Connect” would like to send you notifications screen, choose either Don't Allow or Allow based on your preferences.
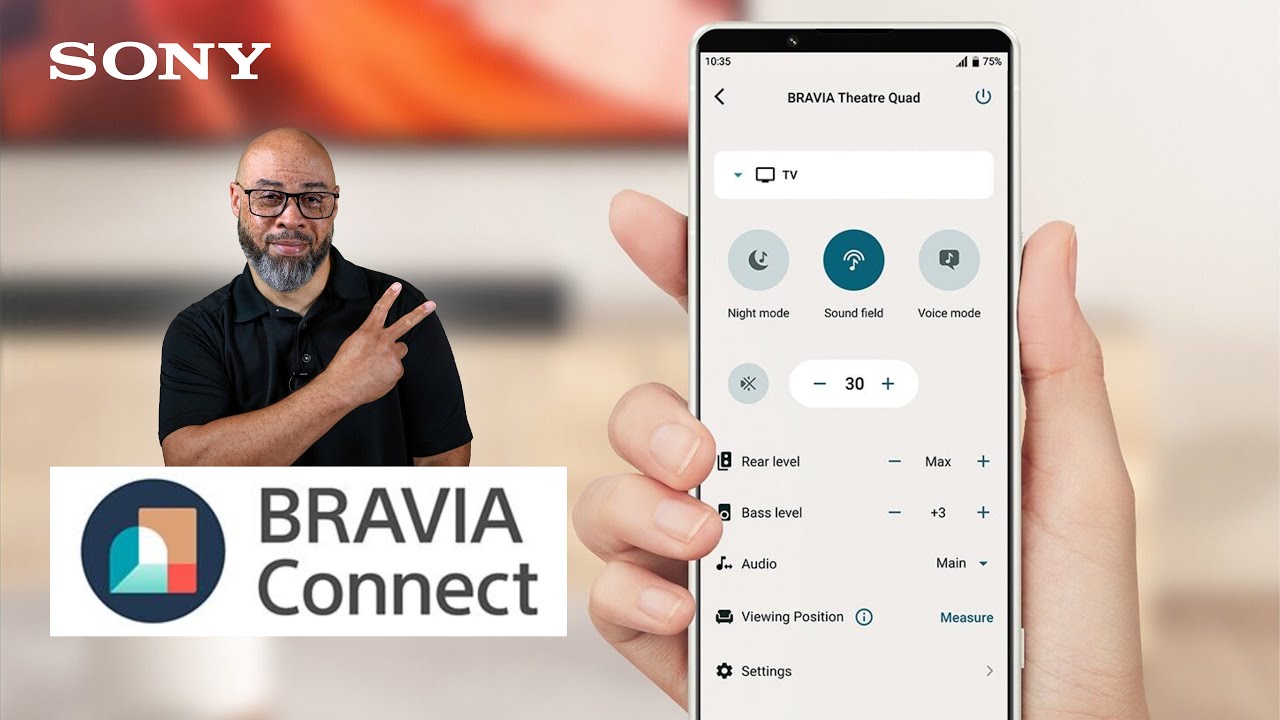
- Congratulations! Your soundbar is now ready for use, and you can control it with the BRAVIA Connect app. You can adjust the volume, bass level, equalizer settings, and more from the app.
Troubleshooting tips
Register your product
Get access to all information, keep your product up to date and enjoy great deals
Sony Community
Visit our Community and share your experiences and solutions with other Sony customers
Contact support
Contact your Sony Support team
Repair, Warranty & Spare Parts
Book, track or maybe even avoid a repair
Support by Sony (Mobile App)
Never miss an update again! Find information and receive instant notifications about your product

