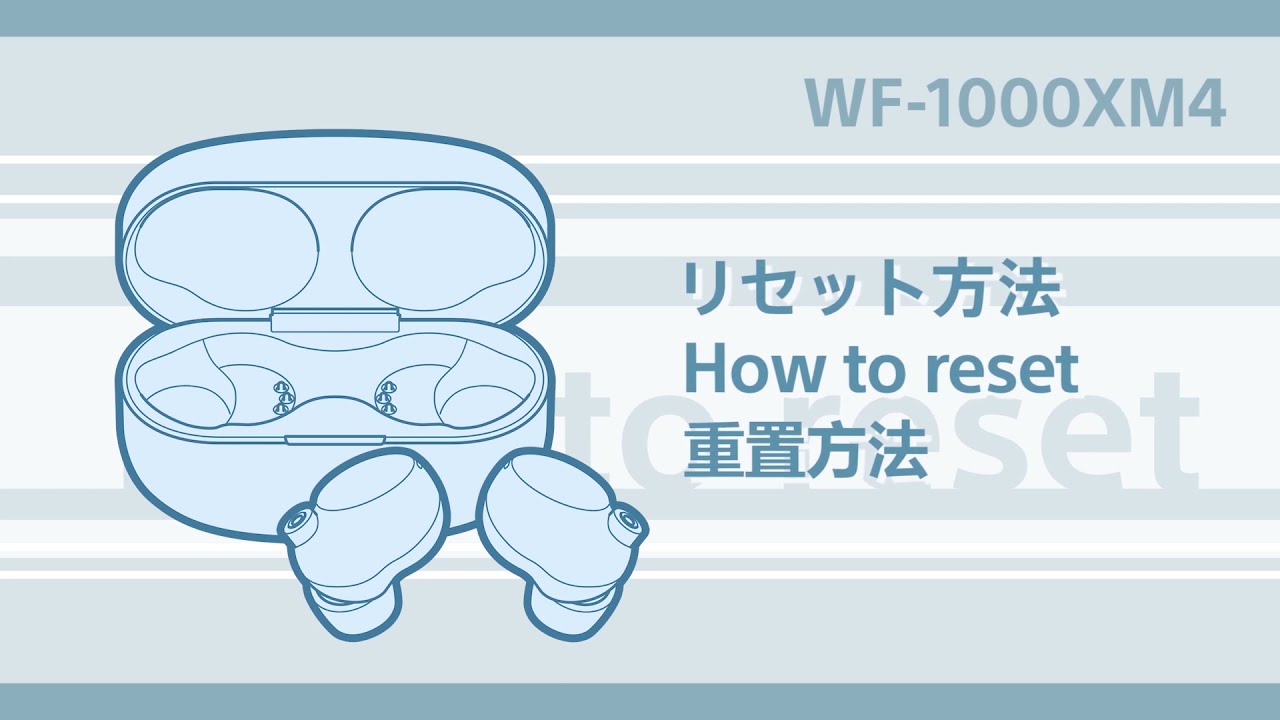
Reset the headset
- Place a headset unit into the charging case, then close the lid of the charging case.
-
Connect the charging case to an AC outlet.
Note: Use the supplied USB Type-C cable and a commercially available USB AC adaptor.
-
Open and close the lid of the charging case more than 5 times within 20 seconds. This will cause the indicator of the charging case to flash red.
When the resetting is complete, the indicator of the charging case flashes green 4 times.
-
Remove the headset unit from the charging case, place the other headset unit into the charging case, then start the operation again from Step 1.
- During a reset, the device registration (pairing) information and other settings are retained.
- You can also see how to reset your device in the following video:
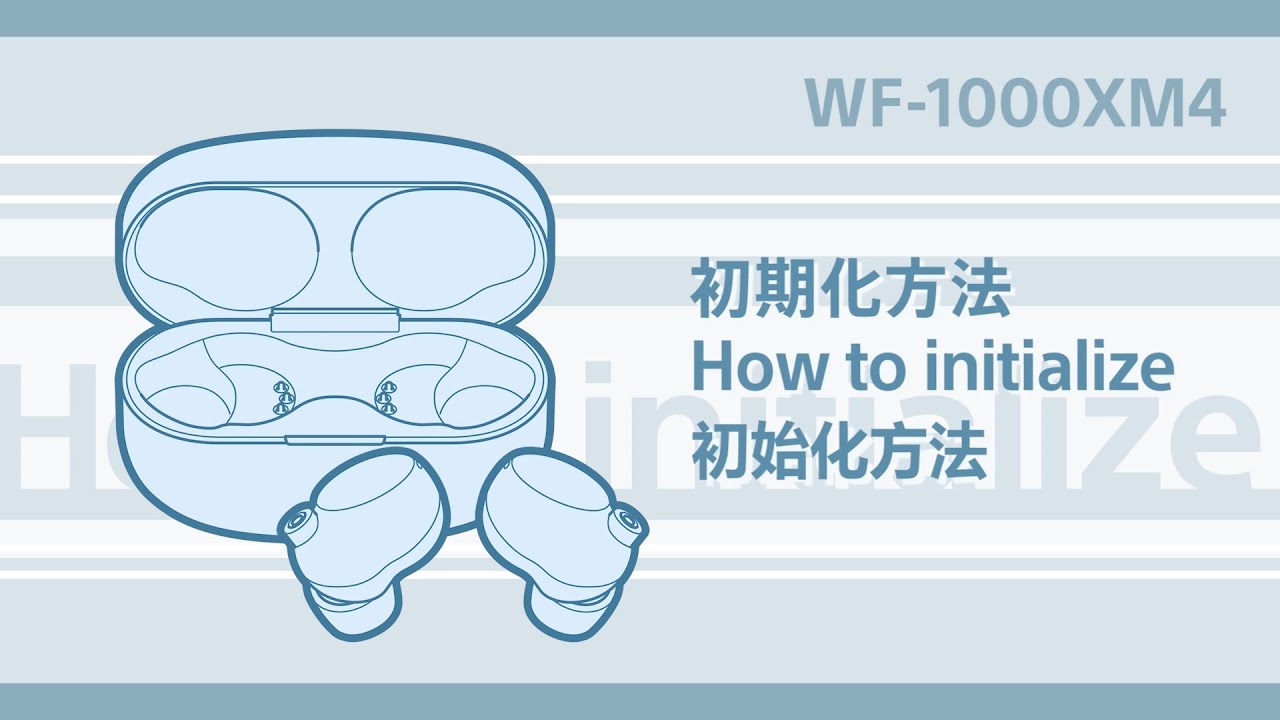
Initialise the headset to restore factory settings
IMPORTANT: This operation resets all the device settings to the factory defaults and deletes all pairing information.
- After initialising the headset, you should delete the headset pairing information from any connected devices and then pair them again.
- When the remaining battery charge of the charging case is not sufficient, the headset will not start initialising. If this is the case, charge the charging case.
- Place the headset into the charging case.
- Hold your fingers to the touch sensors on both the left and right units for about 10 seconds.
Note: This will cause the indicator of the charging case to flash red. - Release your fingers within 5 seconds after the indicator starts flashing.
When the initialising is complete, the indicator (green) of the charging case flashes 4 times.
Note: If you do not release your finger within 5 seconds after the indicator starts flashing in step 3, the headset will not be initialised. Try again from step 2.
- You can also initialise the headset using the Sony | Headphones Connect app.
- You can also see how to initialise your device in the following video:
Register your product
Get access to all information, keep your product up to date and enjoy great deals
Sony Community
Visit our Community and share your experiences and solutions with other Sony customers
Contact support
Contact your Sony Support team
Repair, Warranty & Spare Parts
Book, track or maybe even avoid a repair
Support by Sony (Mobile App)
Never miss an update again! Find information and receive instant notifications about your product

