
Good Enough to Eat
Kate Kirkman
“Plenty of times in my career, I’ve been asked to shoot something that’s not ‘core’ to me,” says Kate Kirkman, “and oftentimes I’ve said no – but I always found food photography really interesting. It’s creative and challenging, so when I get the offer, I love it.”
A portrait specialist in the main, Kate often shoots personal branding for clients including chefs and nutritionists. Add in her fine-art background and eye for detail, and food is an easy fit. So much so that she now also runs a food photography website, foodbylumiere.co.uk.
“One of the things that draws me,” she continues, “are the intricacies in food photography. It can look simple, but there’s a tremendous amount that goes into it, both technically and aesthetically. At the top level you might have a food stylist and a prop stylist, but more regularly you’ll style it yourself. Composition and colour theory are very important, and so is lighting. Some images are uncluttered, others have great complexity, meaning from dish to dish and restaurant to restaurant, each food story is unique.”
A recent project Kate worked on was for, “a lovely gastro pub called The Hundred. Something this project raised was the influence of food creators that goes into any shoot,” Kate explains. “You may want to shoot it a certain way that reflects your style,” she adds, “but the chef or stylist will have their own ideas. In this case they wanted great simplicity, with everything stripped back, and nothing in the frame that could take away from the food. Further to that, they wanted to use the pub’s own tables and walls, to give it a holistic feel.”
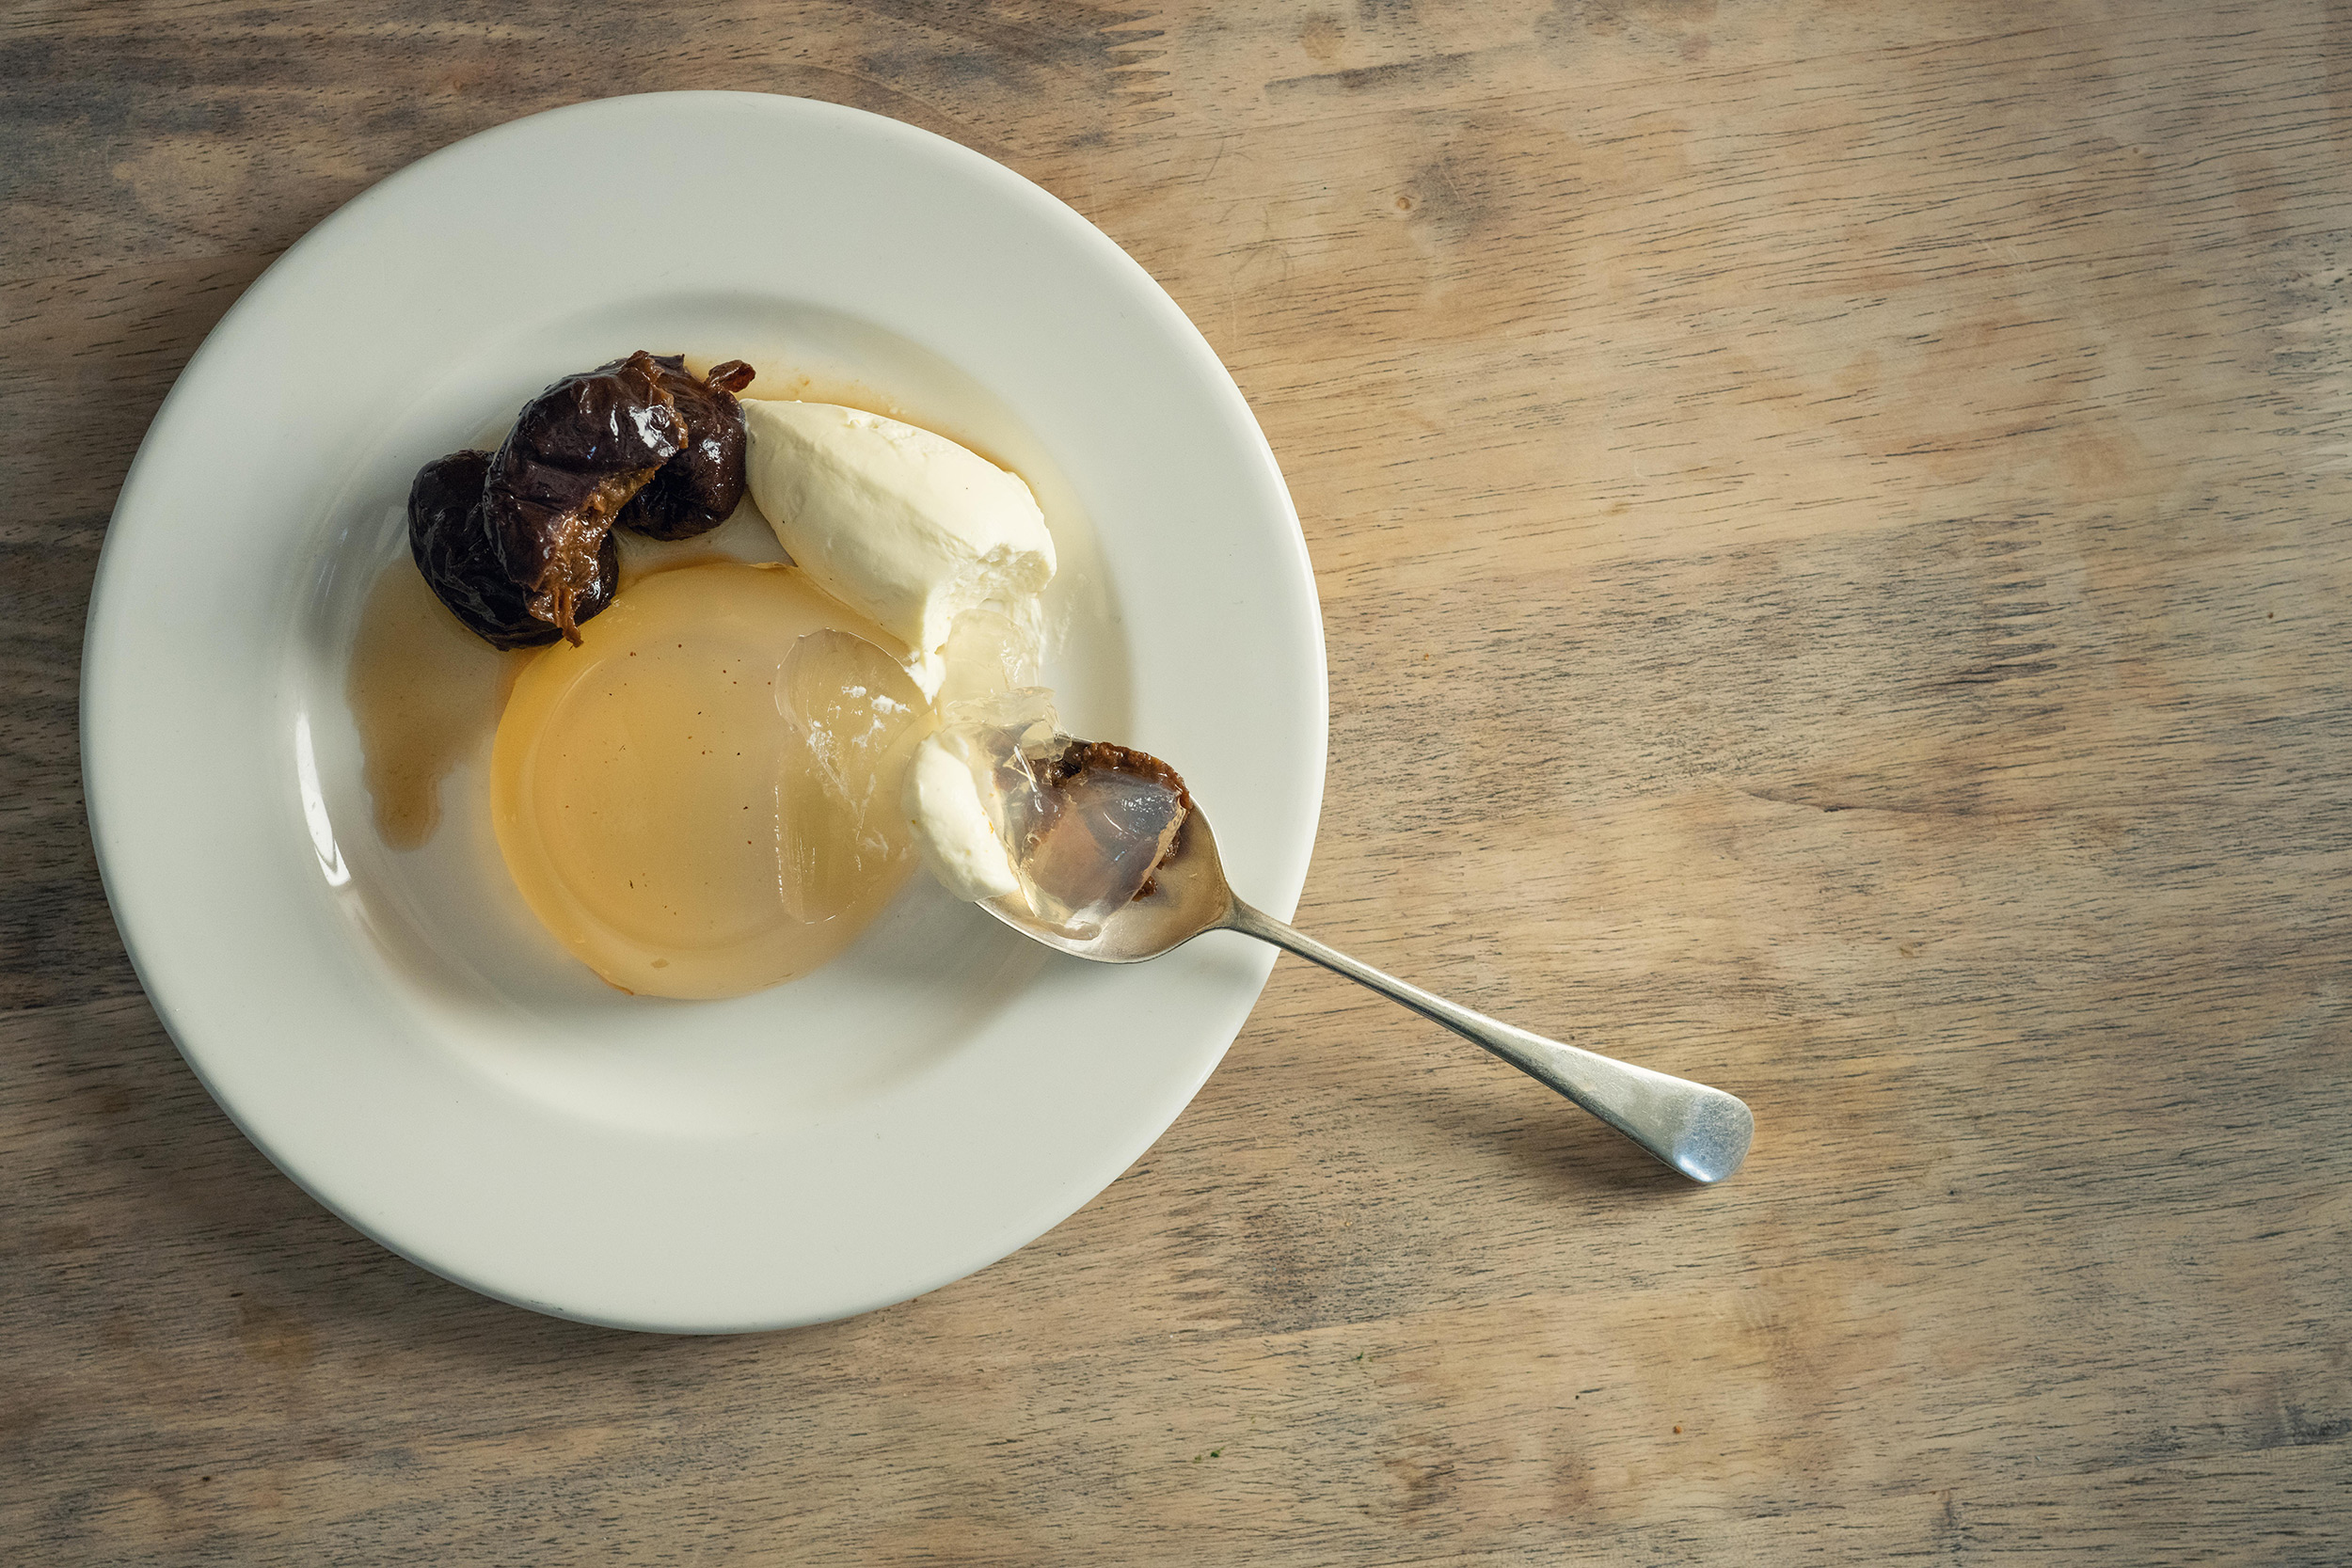 © Kate Kirkman| Sony α7R IV + FE 50mm f/2.8 Macro | 1/160s @ f/4.5, ISO 2000
Kate shot a series of flat-lay compositions and more regular angles, as well as interiors of the restaurant space. On the former, “a bird’s-eye style has become very popular,” she says, “and it’s probably the most important for many shoots. You see it a lot on social media and the reasons are clear – it’s bold and striking, has a ready-made backdrop in the tabletop, and allows you to play with the frame creatively. The only time it doesn’t work is when there’s ‘height’ to food,” she laughs, “so if it’s a towering burger or a pile of waffles, then it’s time to change up.”
 © Kate Kirkman| Sony α7R IV + FE 50mm f/2.8 Macro | 1/160s @ f/4.5, ISO 2000
“For bird’s-eye views,” she continues, “I’ll mount my Sony Alpha 7R IV to a homemade rig, which sits on top of a couple of light stands. It gives more stability and flexibility than using a tripod. I tether the camera to a screen or laptop and compose using that, moving the subject to where it works best, rather than the camera. Switching to a more human view, from about 20-45º, is actually tricker,” she continues, “as that brings more of the room into play, and of course anything within the frame needs to be lit or styled.”
For focusing, Kate prefers to work manually using the Sony Alpha 7R IV’s focus peaking, “and we very often use depth-of-field calculators to work out how much of the subject needs to be held sharp. I’ll typically work with the FE 50mm f/2.8 Macro as it’s small and light, but wide open so there can be a very shallow focus. Ideally, I like to get 90% of the subject in focus, like most of the plate and the cutlery, as well as the food, so stopping down a little is normal, but not a problem with the camera locked off.”
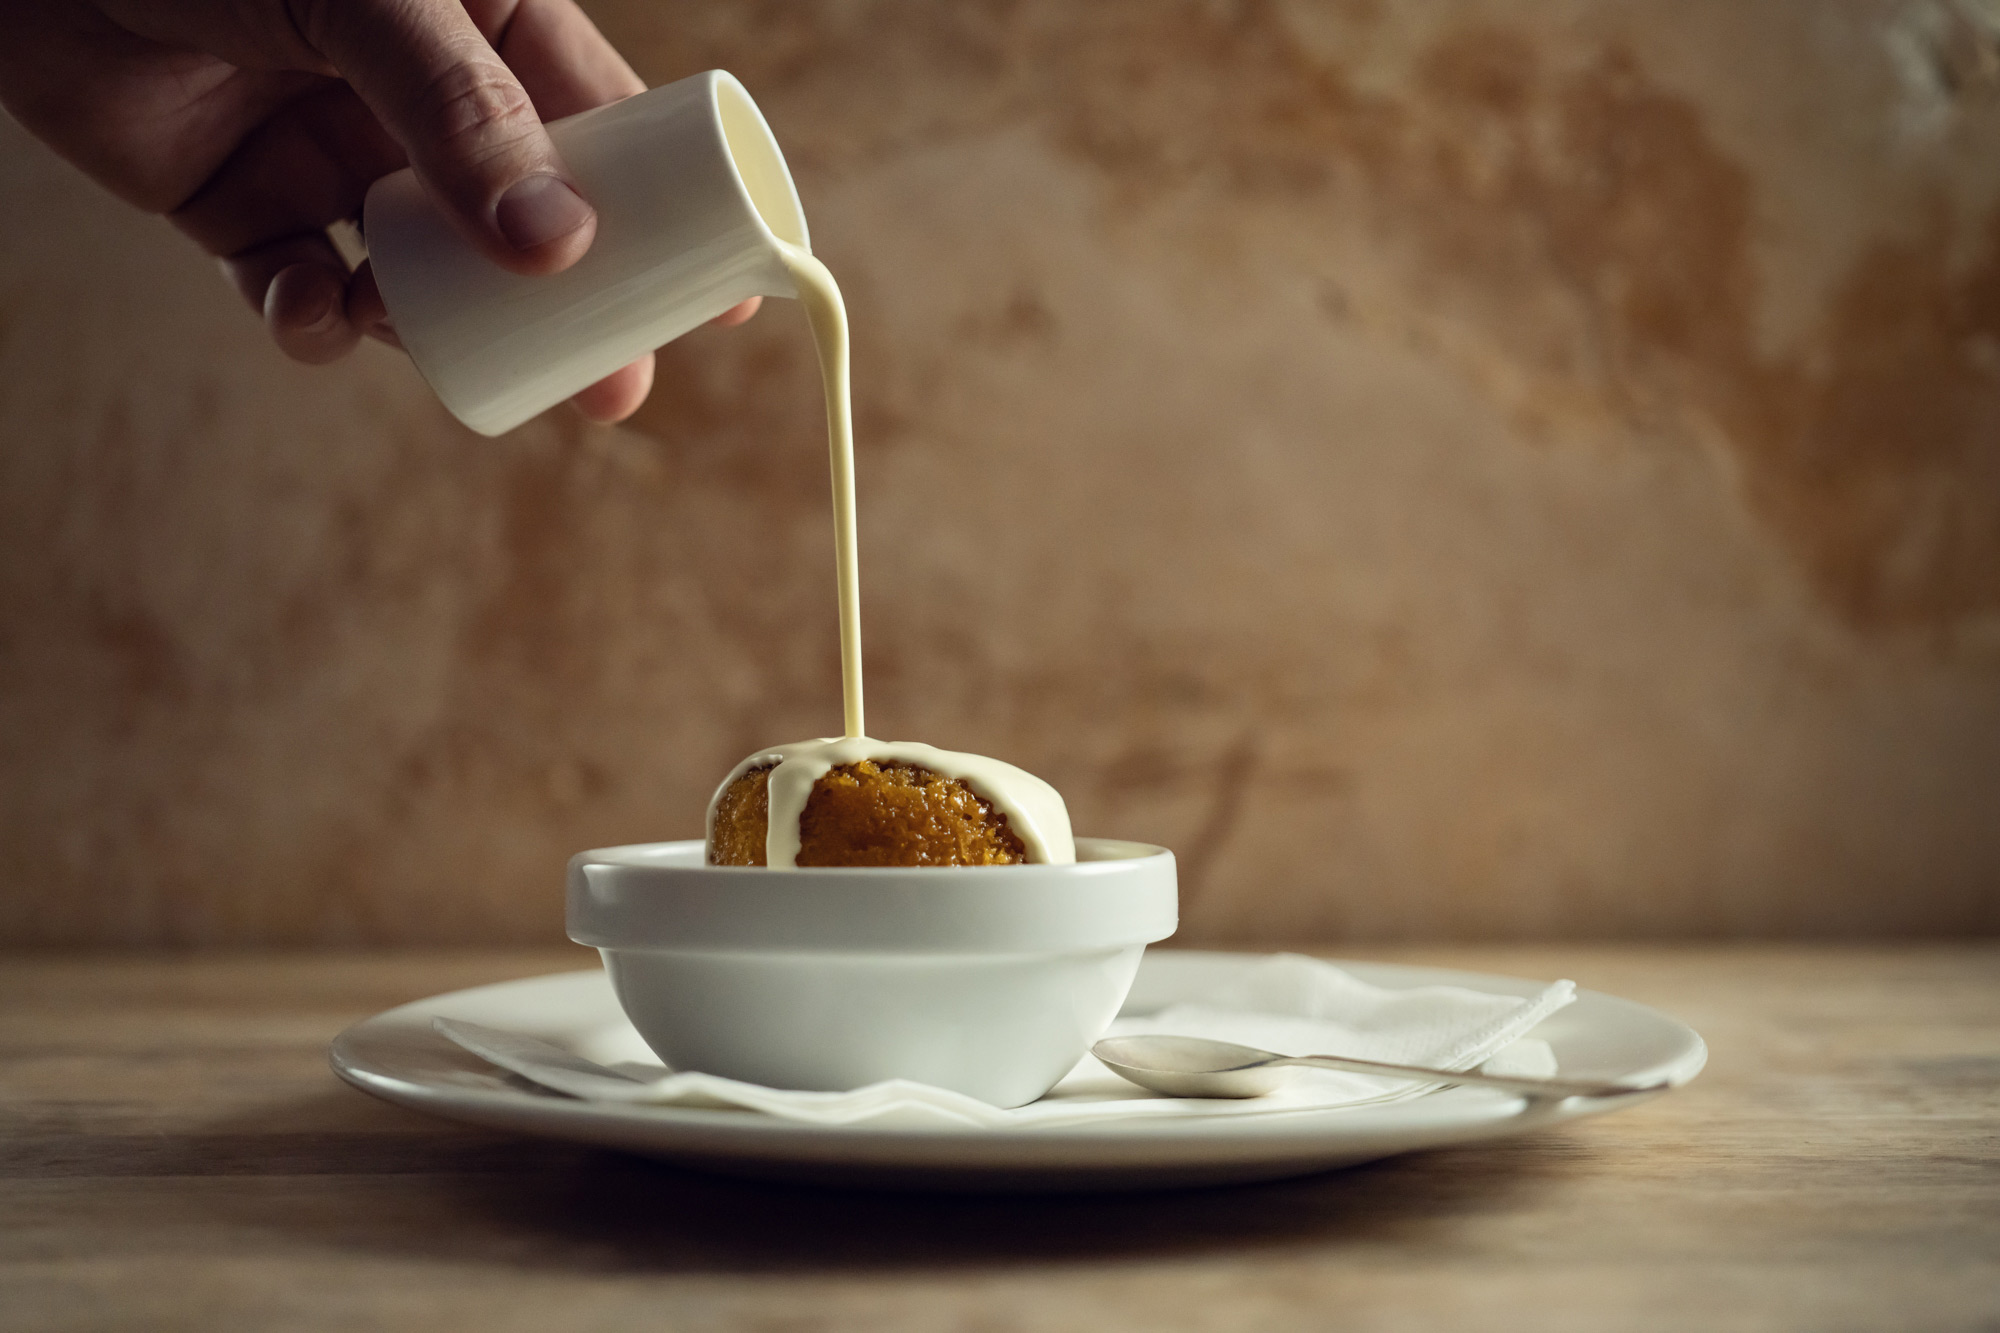 © Kate Kirkman| Sony α7R IV + FE 50mm f/2.8 Macro | 1/1000s @ f/2.8, ISO 2000
“Another wonderful thing about using the Alpha 7R IV,” Kate continues, “is that I know I can take one shot of a dish and crop multiple compositions from it, thanks to the 60.2 megapixel resolution. Combined with the lowest ISOs it makes for amazing prints, and that’s important as a lot of these images will be destined for magazine pages or menus where clarity is paramount.”
Something big to watch out for, however, are reflections. “If you don’t pay attention, it can be a nightmare,” Kate exclaims, “as they bring harsh and ugly contrast to a shot, drawing the eye away from the food. To deal with that, we use softening modifiers like softboxes, but also pick out cutlery and plates that are matte or have a rich patina. You certainly don’t want to be adjusting light position based on reflections – only what’s best for the subject. If all else fails you can get mattifying sprays to take the glare off, but just don’t eat anything after that’s been on it!”
A big part of success here, Kate says, is making the most of her camera’s live view. “With the image coming right off the sensor,” she says, “it means I can not only make exposure and focus changes more easily but combined with the camera being on a tripod or rig, I can light using continuous lights rather than flash, which helps me visualise the lighting enormously. In fact, the only time we tend to use flashes is when we need to freeze the details, like shooting food that’s being poured, or if we’re shaking icing sugar into the air!”
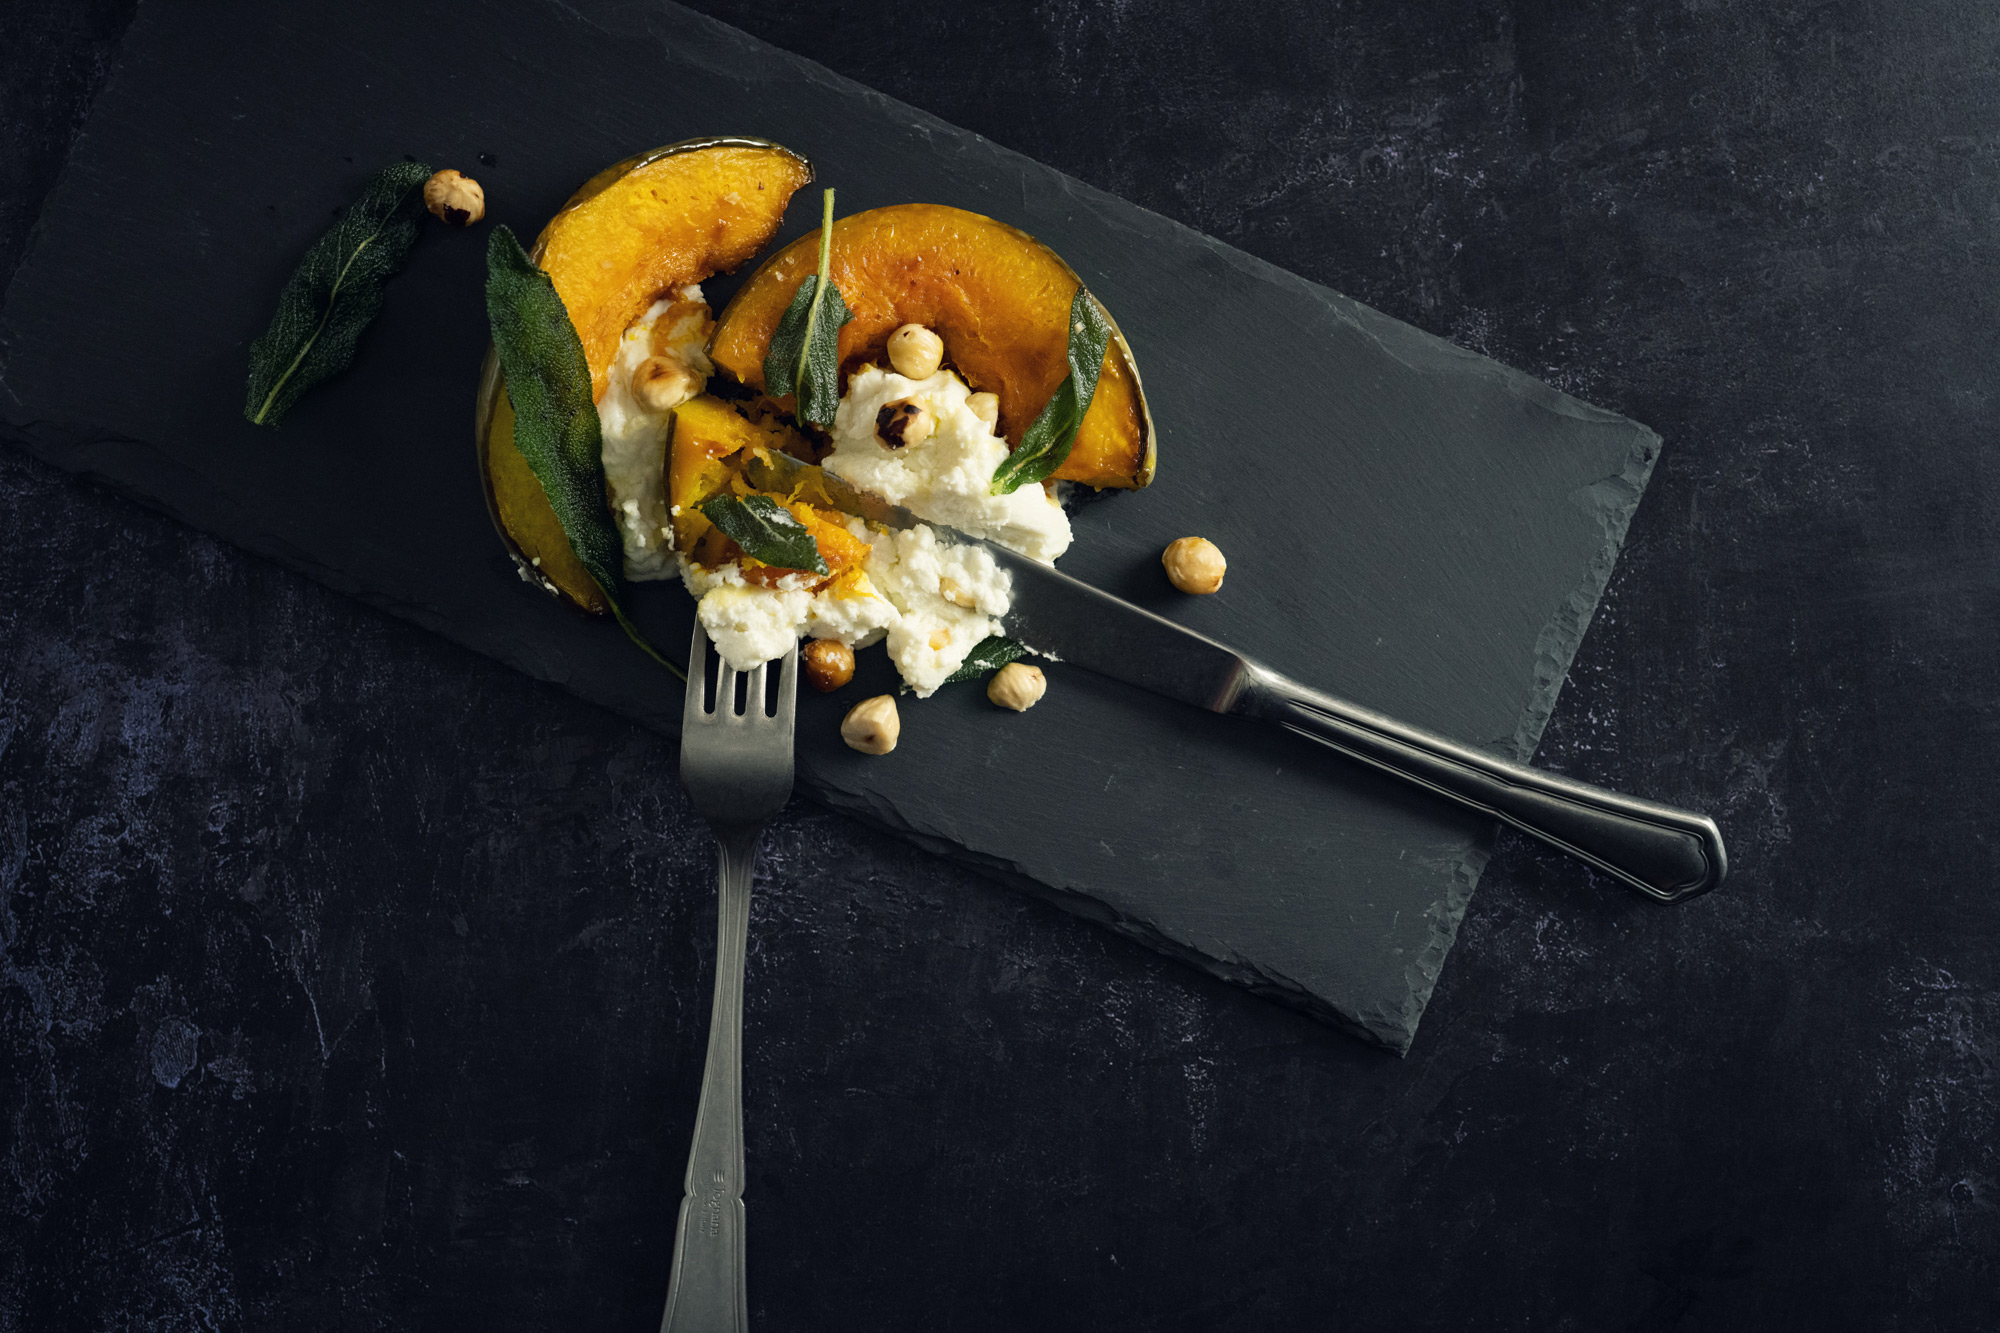 © Kate Kirkman| Sony α7R IV + FE 50mm f/2.8 Macro | 1/160s @ f/4.5, ISO 2000
“I tend to want to keep lighting as natural as possible,” she continues, “but also show off the form and texture of the food. Of course, it’s very much like traditional still-life lighting, so the opposite of what I’d often use for my portraits. If you push light in from the front, it can look very flat, but here highlight and shadow is a lot more important, so I’ll often light from the side or from behind a lot more. And if it’s a translucent subject, I’ll go for full backlighting and use reflectors or white boards to fill it in.”
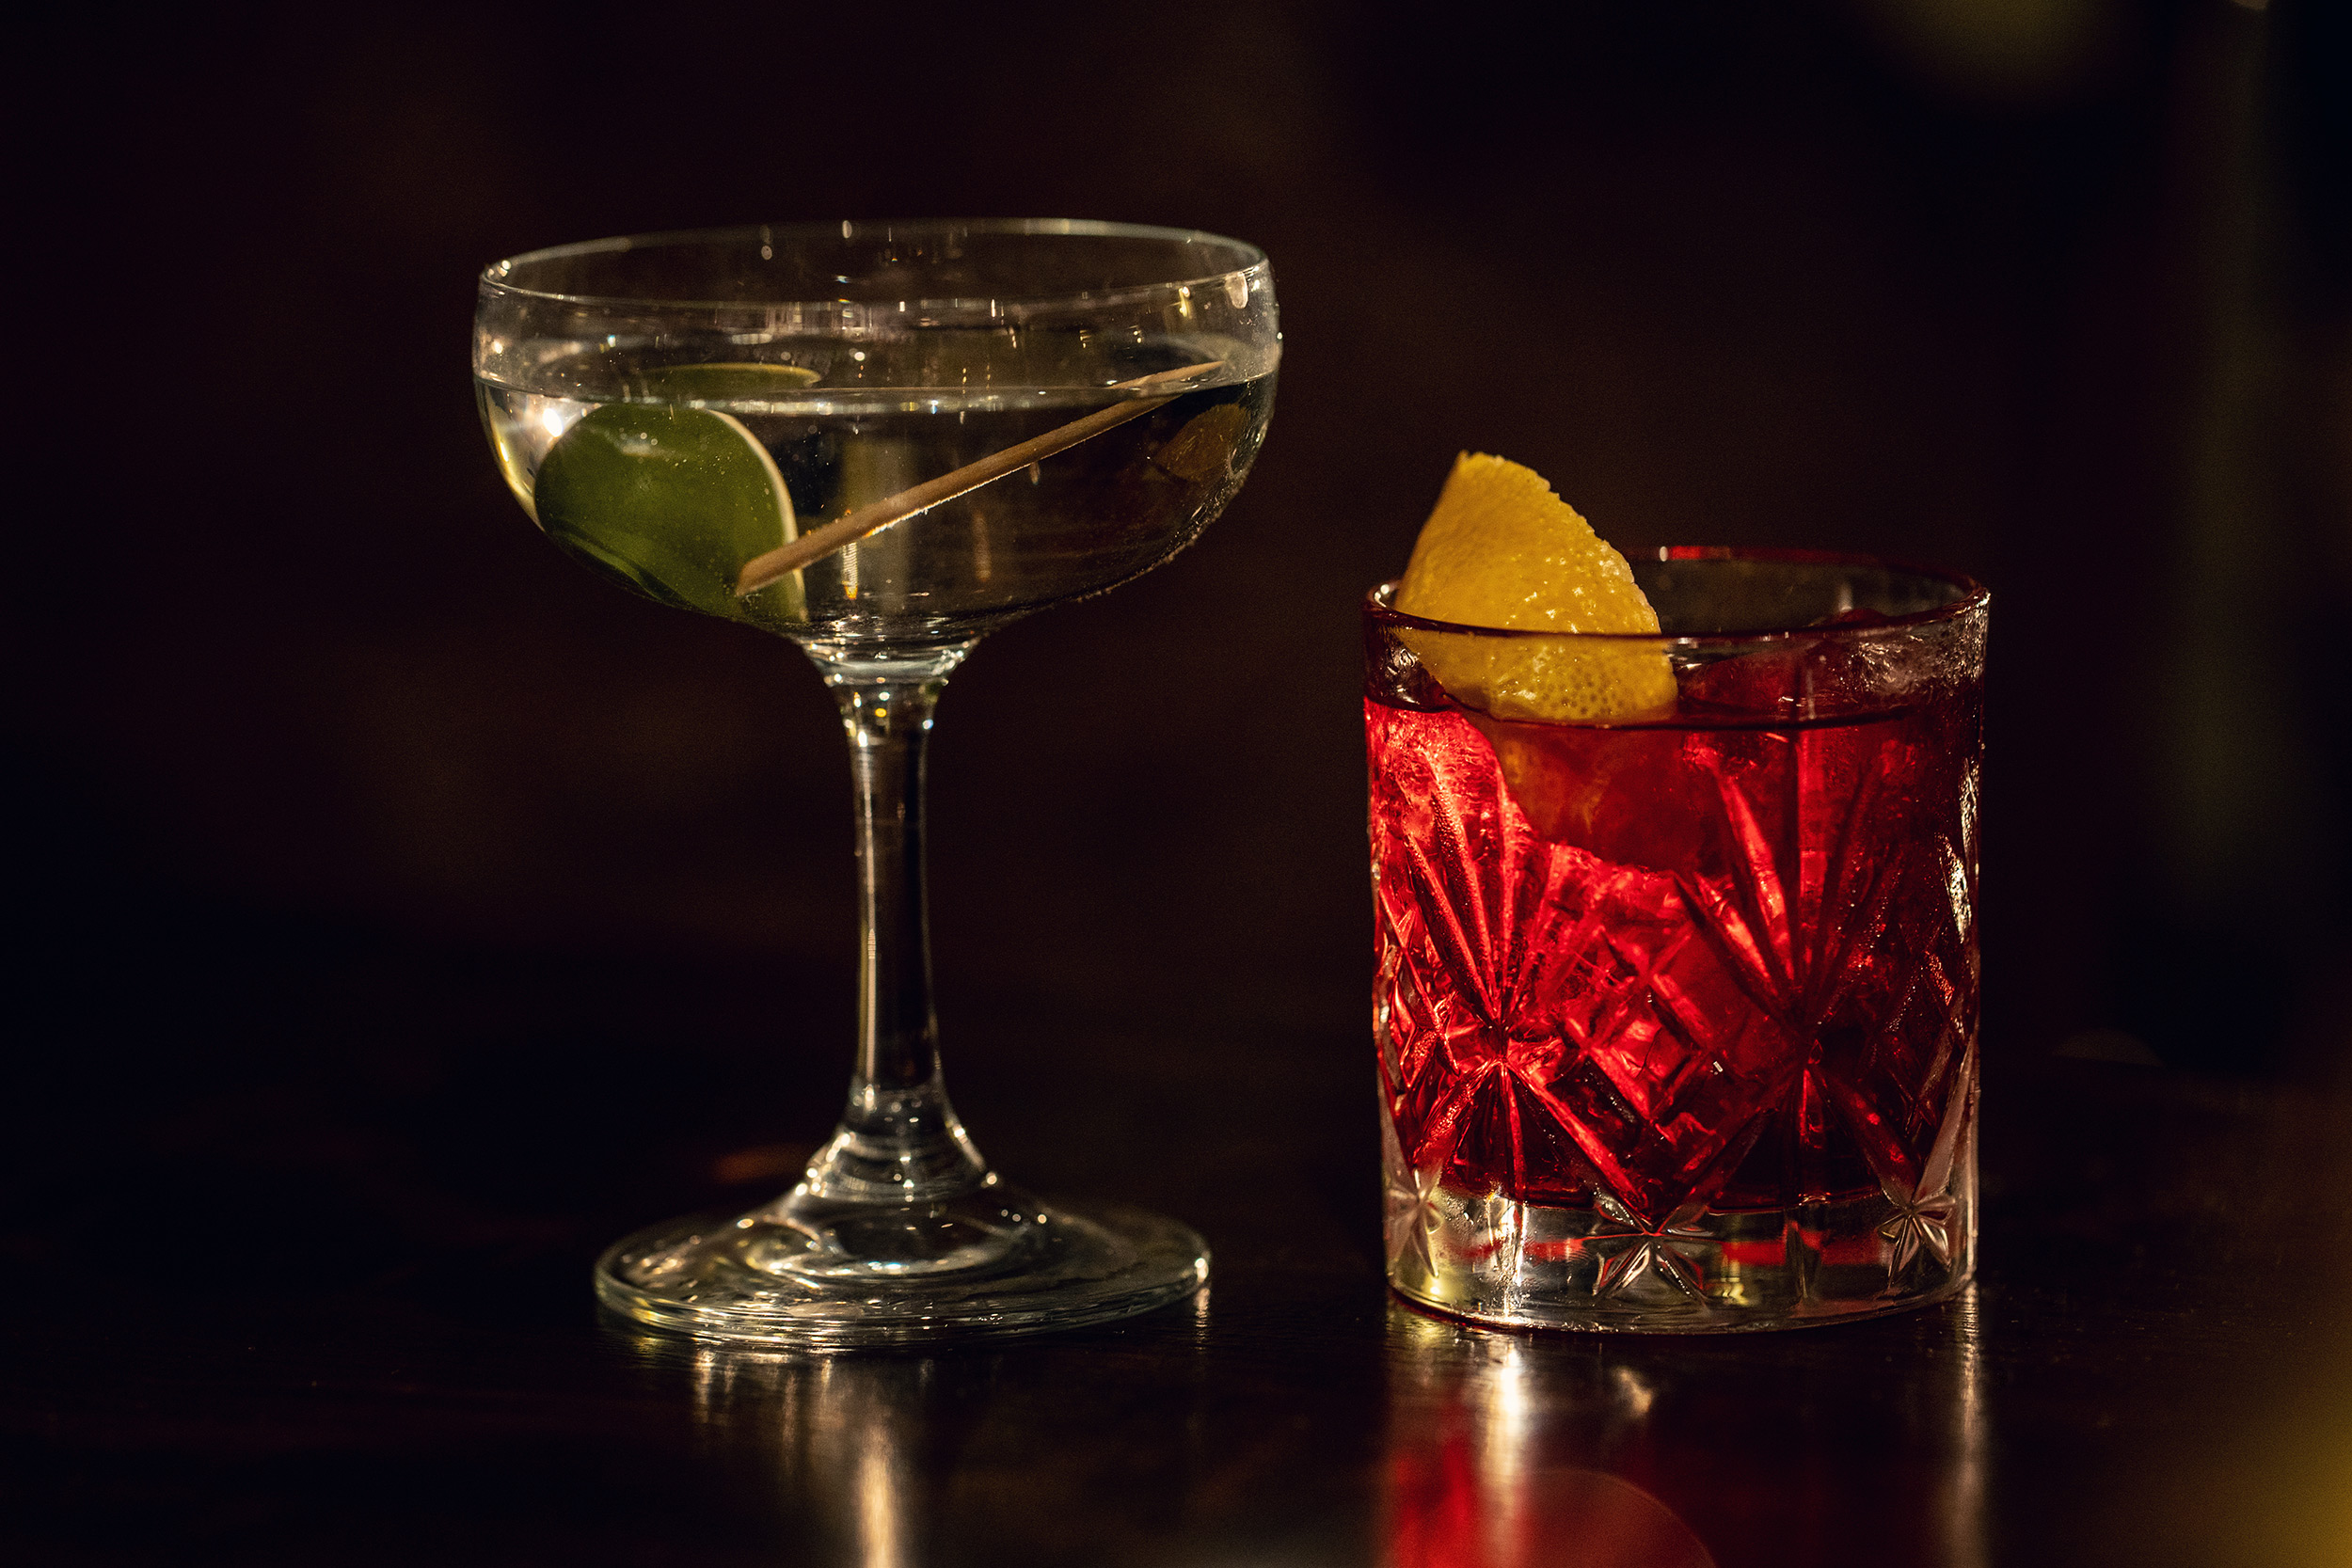 © Kate Kirkman| Sony α9 II + FE 135mm f/1.8 GM | 6s @ f/10, ISO 100
“But like any subject,” she concludes, “the most important thing is to develop your own style. You need to know how you want to do it and my preference is moodier; playing with contrast, light, and shadow. It’s fine if the client wants something else, you just need to know how to adapt. Ultimately, the task is to make the food look good enough to eat, and when you’re done, that’s exactly what you can do. So that’s definitely up there with the best reasons to do it!”


